
Hello Practical Scrappers! Sarah here and today I'm going to demonstrate a cool vintage-looking technique for modifying photos.
On the wall at my grandmother's house hang large photos of her children taken in the 1960s. The technique at the time had the photographer take the pictures in black and white and then, after development, color them with watercolors. I loved the affect and have found a similar (much easier) way to duplicate it with chalk.

First, change your color photo to black and white and print to cardstock. I used Picasa, because it's easy to operate and it's free! Also, break out your colored chalk set. I've had it in my stash for ages and was originally from Michaels.

Next, begin by shading in the skin tones. For this photo of my mom and me, I started with light beige for the first layer.

Next, I layered on a light pink over all the skin tones. It gives the skin a bit of a glow and tones down the yellows in the beige.

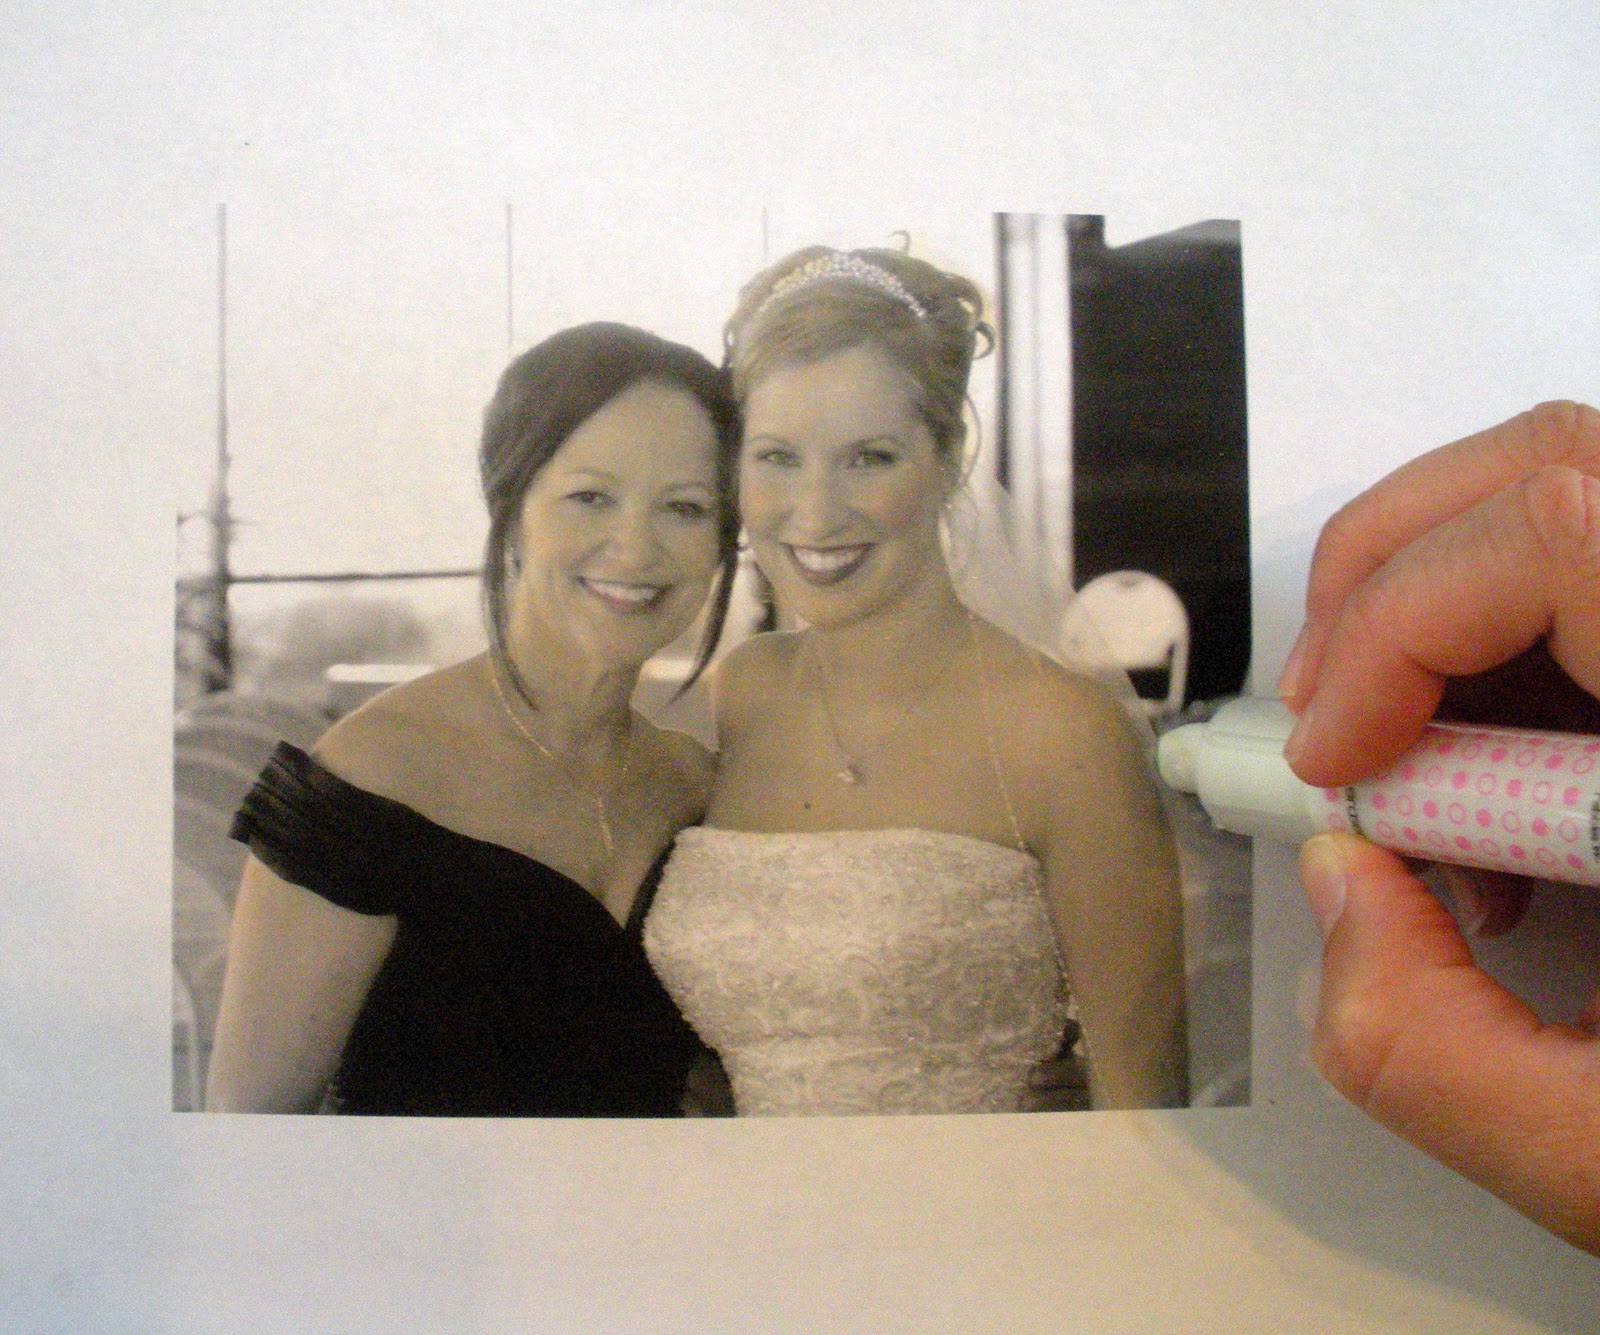
Now, add in the other highlights on your photo. You can enhance hair color, eye color, lip color, cheek color....really anything. Don't be afraid to experiment with your palette! I even added darker pink to the collarbones for a bit of depth.

Your final step is to give the edges of your picture a once-around with the sharp edge of an eraser to give you a clean line and catch any stray bits of color.
And you're done! A customized, vintage photo transformation is as easy as that. This technique works great with photos of babies and kids too. Moms always love a custom card or scrapbook page with this soft finish.

Finished Photo


What a terrific tutorial....thanks for sharing Sarah.
ReplyDelete